In this guide, you’ll learn how you can create, edit and organize Fields in a Card.
Related: Learn how you can manage other Board elements:
1. Open the Board you wish to edit Cards (and manage Fields) for
You can see the list of your Boards in the top left corner of your screen. Access the necessary Board by simply clicking on it.
![]()
2. Click the gear icon in the footer
Open the Board settings menu by clicking the ![]() icon at the bottom of the page.
icon at the bottom of the page.

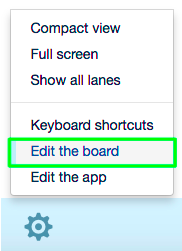
3. In the context menu, select “Edit the board”
Alternatively, you can click Shift + B on your keyboard.
4. In the window that will open, go to the “Fields” tab and start managing Card Fields
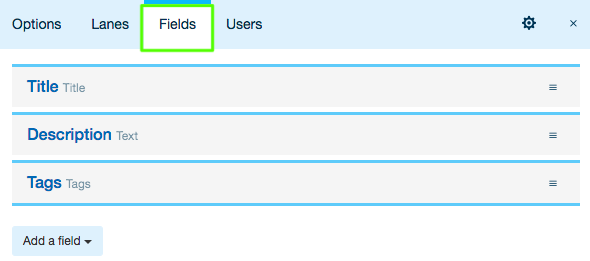
4.1. Add Fields
![]()
Related: Learn how you can add different Fields to Cards.
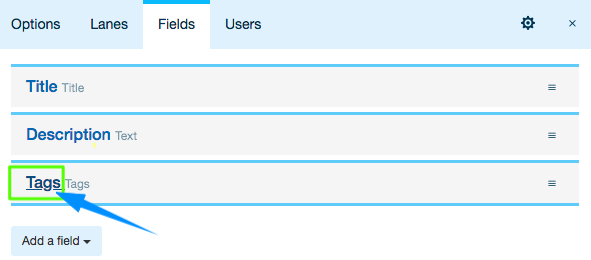
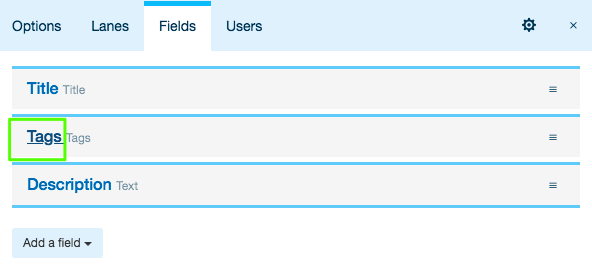
4.2. Update Fields
To update an existing Field, click on its title in the list of Fields (for example, “Tags”), and the editing area will expand. Refer to the Fields section for more details on each Field.
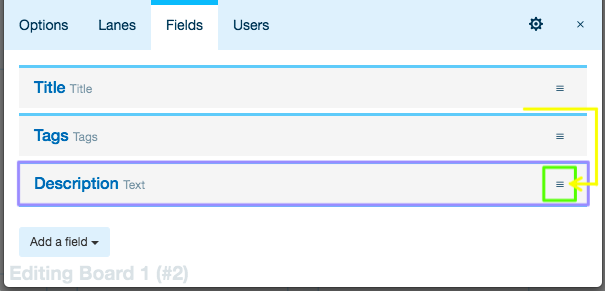
4.3. Reorder Fields
If you wish to reorder Fields, just drag any of the items from its current position (click and hold the item’s handle)
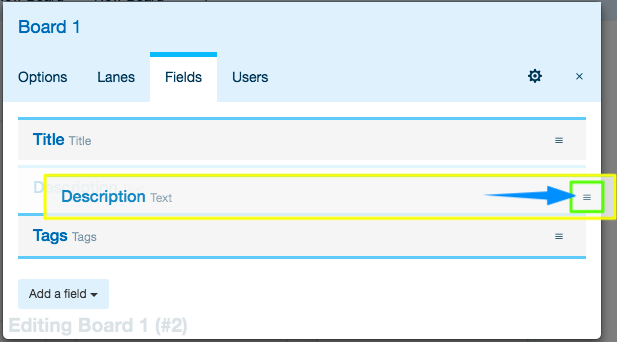
and drop it in another part of the list.
4.4. Delete a Field
4.4.1. Unfold the Field you wish to delete by clicking on its title
4.4.2. At the bottom of the Field’s editing area, click “More Options”
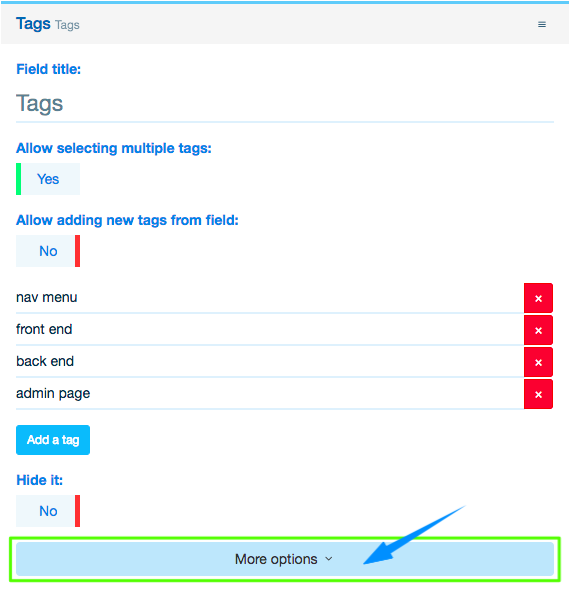
4.4.3. Click “Delete”

4.4.4. Then, in the pop-up window that appears, click “OK” if you are sure you want to delete this Field

Related: Learn more about Managing Boards.